
There are few desserts as iconic and irresistible as a New York Classic Cheesecake. Famous for its rich, velvety filling, buttery graham cracker crust, and perfectly balanced flavor, this timeless dessert has earned its place as one of the world’s most beloved cheesecakes. Whether you’re preparing it for a birthday celebration, holiday gathering, family dinner, or simply treating yourself to something extraordinary, a homemade New York cheesecake delivers bakery-quality results that never go out of style.
What makes this cheesecake truly special is its luxurious texture. Unlike lighter or whipped cheesecakes, the New York version is dense, creamy, and wonderfully smooth with just the right amount of tanginess from cream cheese and sour cream. Every slice melts in your mouth while maintaining its signature firmness, creating the perfect bite from crust to filling. Even better, with the right techniques and a little patience, anyone can bake a flawless New York Classic Cheesecake right at home. In this guide, you’ll learn everything you need to know—from selecting the best ingredients to mastering each preparation step—so your cheesecake turns out beautifully every single time.
Ingredients for New York Classic Cheesecake
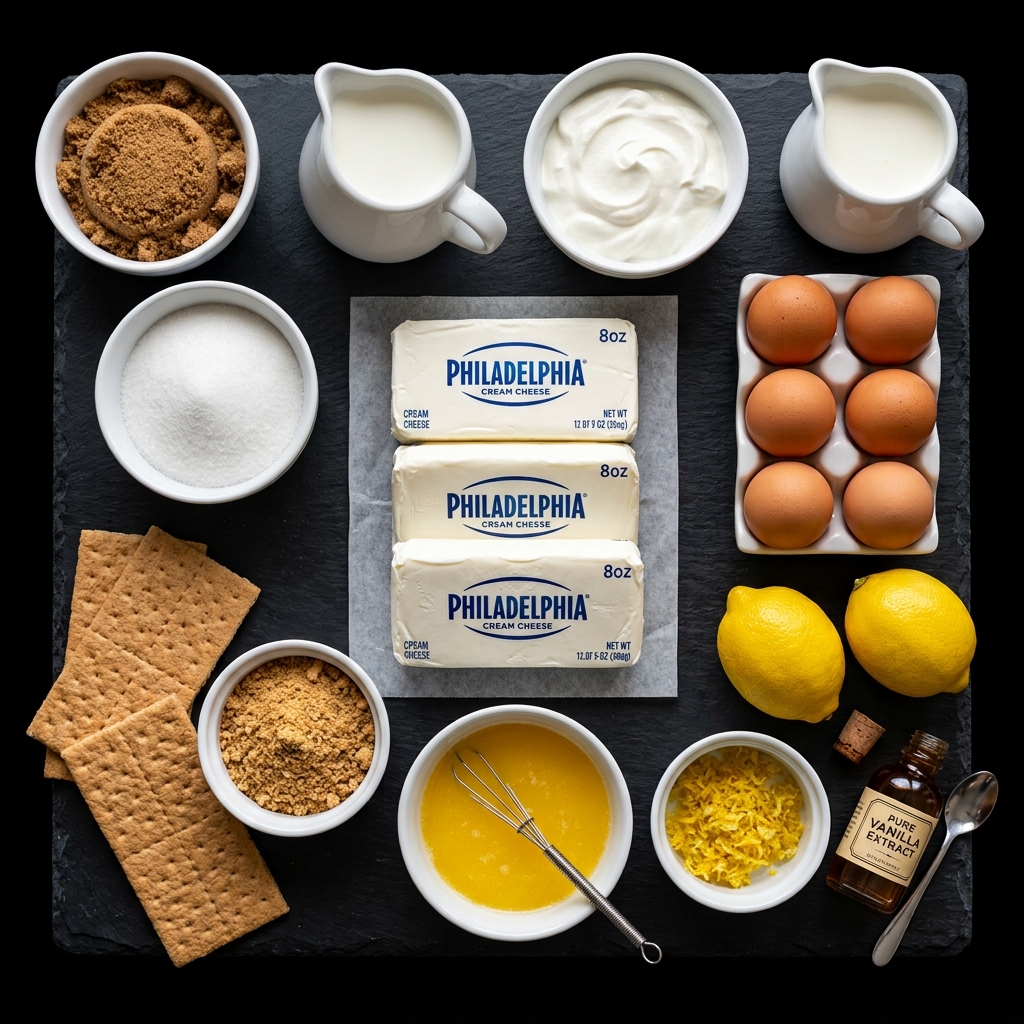
One of the secrets behind an exceptional cheesecake is using high-quality ingredients. Since this dessert contains relatively few components, each one plays an important role in creating the signature texture and flavor.
For the Graham Cracker Crust
- 2 cups graham cracker crumbs
- ½ cup unsalted butter, melted
- 2 tablespoons granulated sugar
- Pinch of salt
The graham cracker crust provides the perfect buttery foundation for the creamy filling. Mixing the crumbs with melted butter allows them to hold together while baking into a crisp yet tender crust.
For the Cheesecake Filling
- 4 (8-ounce) blocks full-fat cream cheese, softened
- 1¼ cups granulated sugar
- 1 cup full-fat sour cream
- 1 teaspoon pure vanilla extract
- 2 teaspoons fresh lemon juice
- 1 teaspoon finely grated lemon zest (optional but recommended)
- 4 large eggs, room temperature
- 2 tablespoons all-purpose flour or cornstarch (optional, for added stability)
- Pinch of salt
Full-fat cream cheese is essential for achieving the authentic New York texture. Reduced-fat alternatives contain more moisture and produce a softer, less luxurious cheesecake.
Sour cream contributes a subtle tanginess while making the filling exceptionally creamy. The small amount of lemon juice brightens the flavor without making the cheesecake taste lemony.
Room-temperature eggs blend more evenly into the batter, reducing the risk of overmixing and preventing unwanted air bubbles that can lead to cracks during baking.
Optional Garnishes
Although a traditional New York Classic Cheesecake is usually served plain, you can garnish it with:
- Fresh strawberries
- Blueberries
- Raspberries
- Cherry topping
- Fresh whipped cream
- Lemon zest
- Powdered sugar
- Chocolate curls
- Mint leaves
- Salted caramel drizzle
These toppings are entirely optional since the cheesecake itself is rich enough to shine on its own.
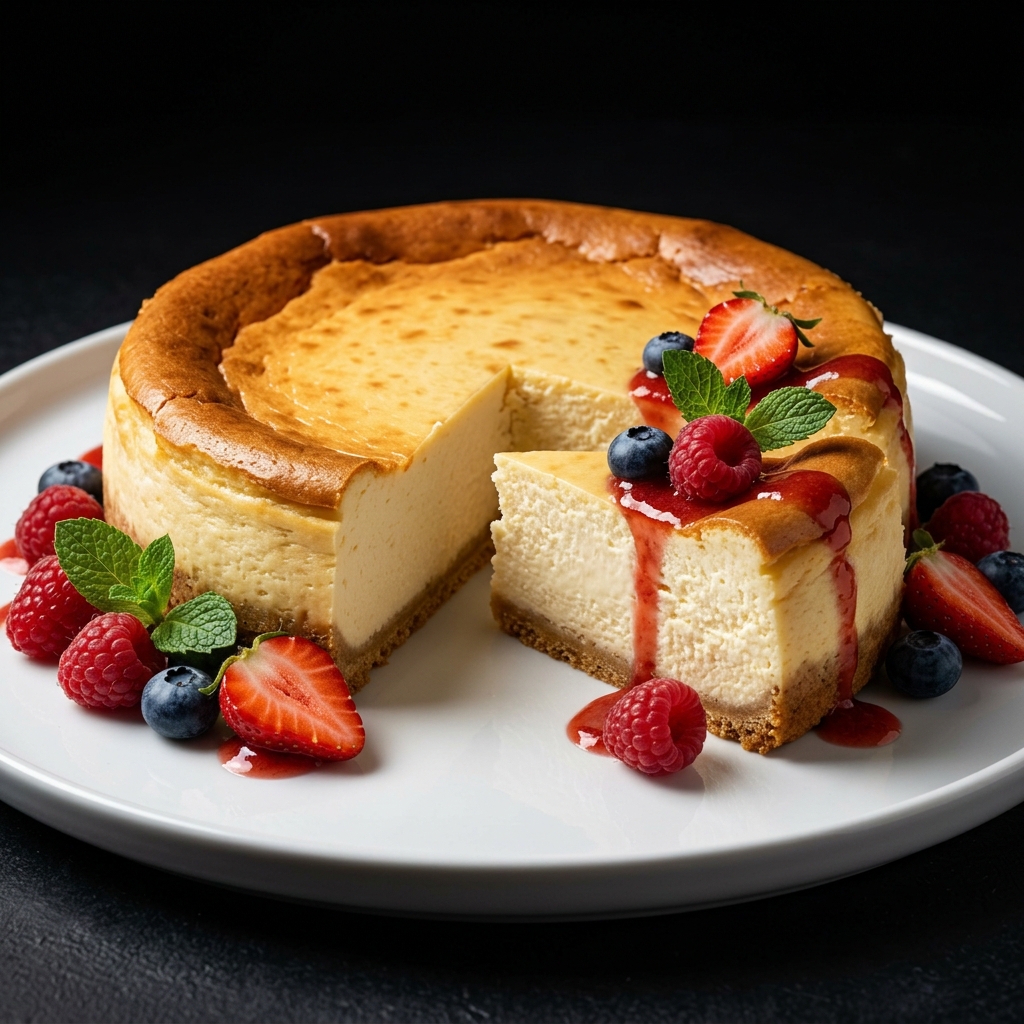
Step-by-Step Preparation Guide
Making cheesecake is less about complicated techniques and more about careful preparation. Taking your time during each stage will reward you with a beautifully smooth dessert.
Step 1: Prepare the Ingredients
Before you begin mixing, remove the cream cheese, eggs, and sour cream from the refrigerator at least one hour ahead of time.
This simple step is one of the biggest secrets to a silky cheesecake. Cold ingredients tend to form lumps, requiring extra mixing that incorporates unwanted air into the batter.
Meanwhile, preheat your oven to 325°F (163°C). Grease a 9-inch springform pan and wrap the outside with several layers of heavy-duty aluminum foil if you plan to use a water bath.
Step 2: Make the Graham Cracker Crust
In a medium bowl, combine the graham cracker crumbs, granulated sugar, salt, and melted butter until the mixture resembles wet sand.
Press the crumbs firmly into the bottom of the prepared springform pan. Use the bottom of a measuring cup or flat glass to create an even, compact layer.
For extra stability, press a small amount of the mixture slightly up the sides of the pan.
Bake the crust for about 10 minutes until lightly golden and fragrant.
Allow it to cool while preparing the filling.
Pre-baking the crust helps keep it crisp instead of becoming soggy once the filling is added.
Step 3: Beat the Cream Cheese
Place the softened cream cheese into a large mixing bowl.
Using a stand mixer fitted with the paddle attachment—or a hand mixer on low speed—beat until completely smooth.
Take your time during this stage.
Every small lump should disappear before adding any additional ingredients.
Smooth cream cheese creates the silky texture that defines a perfect New York cheesecake.
Step 4: Add the Sugar
Gradually add the granulated sugar while continuing to mix on low speed.
Avoid increasing the mixer speed.
High-speed mixing introduces excess air, which can cause the cheesecake to puff dramatically during baking before collapsing and cracking as it cools.
Mix only until the sugar is fully incorporated.
Step 5: Incorporate the Sour Cream and Flavorings
Add the sour cream, vanilla extract, lemon juice, optional lemon zest, flour or cornstarch, and salt.
Mix slowly until everything becomes smooth and creamy.
Scrape down the sides and bottom of the bowl several times using a rubber spatula to ensure no pockets of cream cheese remain hidden.
At this stage, your batter should look glossy, thick, and luxurious.
Step 6: Add the Eggs Carefully
Add the eggs one at a time.
Mix each egg only until it disappears into the batter before adding the next.
Do not overbeat.
Eggs trap air easily, and excessive mixing often leads to cracks during baking.
Once the final egg is incorporated, stop mixing immediately.
The finished batter should be smooth, thick, and free from bubbles.
Step 7: Fill the Pan
Pour the cheesecake batter over the cooled graham cracker crust.
Use a spatula to spread it evenly.
Gently tap the pan several times on the countertop to release any large trapped air bubbles.
This simple step helps produce an even, professional-looking cheesecake.
Step 8: Prepare the Water Bath
A water bath, also known as a bain-marie, is one of the most effective methods for baking a flawless cheesecake.
Place the wrapped springform pan inside a larger roasting pan.
Carefully pour hot water into the roasting pan until it reaches about halfway up the sides of the cheesecake pan.
The gentle steam created during baking helps the cheesecake cook evenly while preventing the surface from drying out or cracking.
Many professional pastry chefs consider this step essential for producing bakery-quality cheesecake with an incredibly creamy texture.
Why Patience Is the Secret Ingredient
One of the biggest mistakes home bakers make is rushing the cheesecake-making process. Unlike cakes or cookies that can often tolerate shortcuts, cheesecake rewards patience at every stage. Allowing ingredients to reach room temperature, mixing gently, baking slowly, and giving the cheesecake enough time to cool properly all contribute to a dessert that looks as impressive as it tastes.
Another reason patience matters is texture. A perfectly baked New York Classic Cheesecake should never be dry, crumbly, or overly firm. Instead, every slice should be rich, creamy, and smooth with a delicate melt-in-your-mouth consistency. While it may be tempting to speed things up, taking your time ensures each bite delivers the authentic experience that has made this dessert famous around the world.
Step 9: Bake the Cheesecake
Carefully transfer the roasting pan with the cheesecake into the preheated oven.
Bake for 65 to 80 minutes, depending on your oven. Resist the temptation to open the oven door frequently, as sudden temperature changes can cause the cheesecake to crack.
A perfectly baked New York Classic Cheesecake should have edges that are set while the center still has a slight wobble—about a 2 to 3-inch circle in the middle. The cheesecake will continue cooking from residual heat as it cools, resulting in the signature creamy texture.
Step 10: Cool the Cheesecake Gradually
Once the cheesecake has finished baking, turn off the oven and leave the oven door slightly open.
Allow the cheesecake to remain inside for about one hour. This gradual cooling process minimizes the risk of sudden temperature changes, which are one of the leading causes of cracks.
After one hour, remove the cheesecake from the water bath and carefully unwrap the foil. Run a thin knife around the inside edge of the springform pan to loosen the cheesecake from the sides, helping prevent cracks as it contracts during cooling.
Allow it to cool completely at room temperature before transferring it to the refrigerator.
Step 11: Chill Before Serving
Patience pays off once again.
Refrigerate the cheesecake for at least 6 hours, though overnight chilling is strongly recommended. This resting period allows the filling to fully set while the flavors develop into the rich, creamy taste that makes New York cheesecake so memorable.
When ready to serve, remove the cheesecake from the springform pan and slice with a long, sharp knife dipped in hot water. Wipe the blade clean between cuts for neat, bakery-style slices.
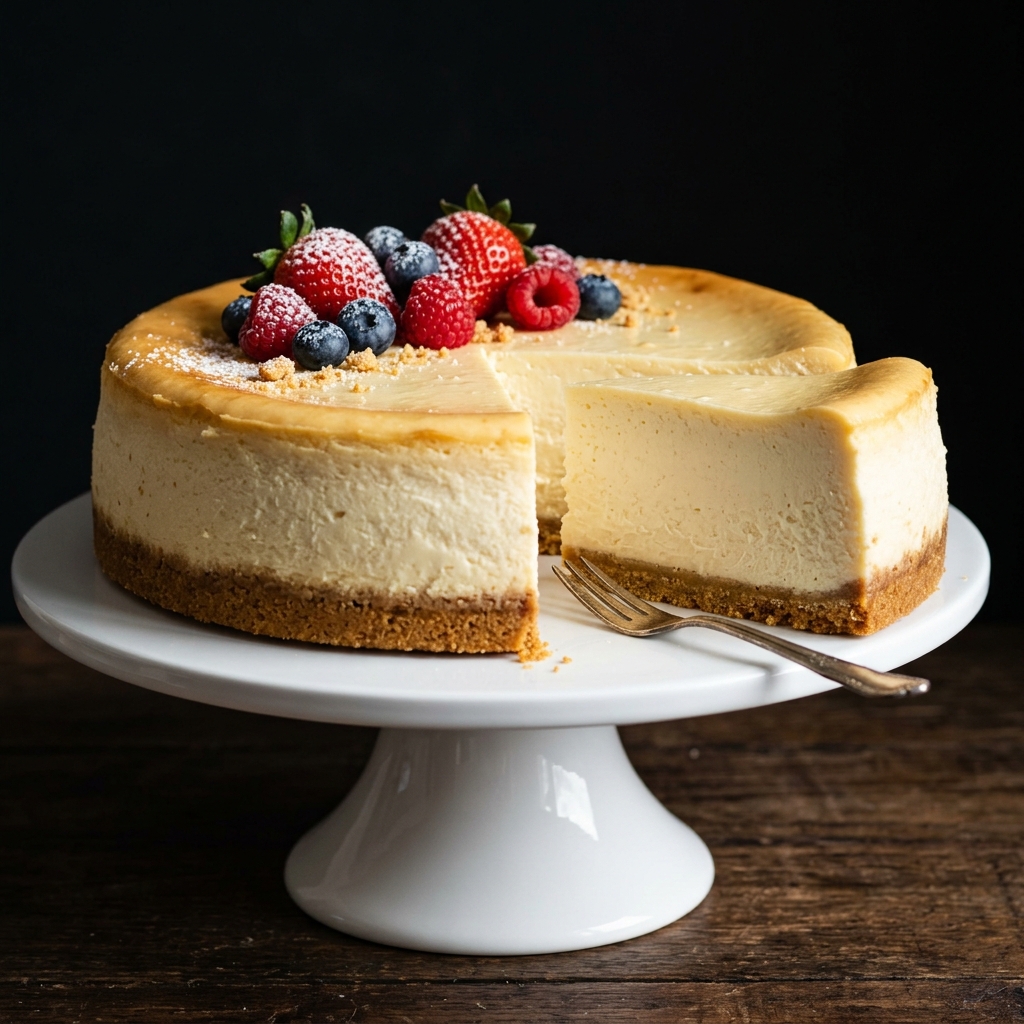
The Little Details That Make a Big Difference
A truly exceptional New York Classic Cheesecake isn’t defined only by its ingredients—it’s the combination of small techniques that elevate it from good to unforgettable. Baking with room-temperature ingredients, mixing gently, using a water bath, and cooling the cheesecake slowly all work together to create a perfectly smooth, creamy dessert. While each step may seem minor on its own, they collectively ensure a cheesecake with a luxurious texture and an elegant appearance.
Another often-overlooked detail is allowing the cheesecake to chill overnight. Although it may be tempting to serve it after just a few hours, the additional chilling time allows the flavors to deepen and the texture to become firmer and creamier. By the next day, every slice will hold its shape beautifully while delivering the rich, velvety consistency that has made New York Classic Cheesecake a favorite around the world.
Variations of New York Classic Cheesecake
One of the reasons this dessert remains so popular is its versatility. Once you’ve mastered the classic recipe, you can customize it in countless delicious ways.
Strawberry New York Cheesecake
Top the chilled cheesecake with fresh strawberries or a homemade strawberry sauce for a sweet and refreshing finish.
Blueberry Cheesecake
A rich blueberry topping adds vibrant color and a slightly tart flavor that complements the creamy filling perfectly.
Cherry Cheesecake
Cherry pie filling is one of the most traditional toppings for New York cheesecake and adds a nostalgic bakery-style presentation.
Chocolate Cheesecake
Incorporate melted dark chocolate into the filling or drizzle chocolate ganache over the finished cheesecake for an indulgent twist.
Salted Caramel Cheesecake
A generous drizzle of salted caramel sauce enhances the richness while balancing the sweetness.
Lemon Cheesecake
Increase the lemon zest and lemon juice slightly to create a brighter, citrus-forward version without overpowering the classic flavor.
Mixed Berry Cheesecake
Top the cheesecake with fresh raspberries, blueberries, strawberries, and blackberries for a colorful dessert that’s perfect for spring and summer gatherings.
Expert Tips for the Best Cheesecake
- Always use full-fat cream cheese for authentic texture and flavor.
- Let all refrigerated ingredients come to room temperature before mixing.
- Avoid overmixing once the eggs are added to prevent excess air in the batter.
- Bake using a water bath whenever possible for the creamiest results.
- Never rush the cooling process by placing a hot cheesecake directly into the refrigerator.
- Chill overnight for the best texture and flavor.
- Use a springform pan for easy removal.
- Slice with a warm knife, cleaning the blade after every cut for professional-looking servings.
- Measure ingredients accurately, especially cream cheese and eggs, to maintain the proper consistency.
- If small surface cracks appear, don’t worry—they can easily be covered with fresh fruit or your favorite topping.
Make Ahead Options
New York Classic Cheesecake is one of the best desserts to prepare in advance.
The cheesecake can be baked one or two days before serving and stored in the refrigerator. In fact, many bakers agree that the flavor improves after resting overnight.
For longer storage, the cheesecake can be frozen either whole or sliced. Wrap it tightly in plastic wrap followed by aluminum foil, then place it in an airtight freezer-safe container or freezer bag. Freeze for up to two months.
To serve, thaw overnight in the refrigerator. Avoid thawing at room temperature, as this may affect the texture.
If adding fruit toppings or whipped cream, wait until just before serving to keep them fresh and visually appealing.
What to Serve with New York Classic Cheesecake
Although delicious on its own, New York Classic Cheesecake pairs beautifully with a variety of accompaniments.
Some excellent serving ideas include:
- Fresh strawberries
- Blueberries
- Raspberries
- Blackberry compote
- Cherry topping
- Salted caramel sauce
- Chocolate ganache
- Fresh whipped cream
- Vanilla bean whipped cream
- Lemon curd
- Espresso or freshly brewed coffee
- Cappuccino
- Hot chocolate
- Black tea
- Fresh mint leaves for garnish
These additions allow you to customize each serving while preserving the cheesecake’s classic appeal.
How to Store New York Classic Cheesecake
Proper storage helps maintain both freshness and texture.
Cover the cheesecake tightly with plastic wrap or transfer slices to an airtight container before refrigerating.
Stored properly, cheesecake will remain fresh in the refrigerator for up to five days.
For longer storage, freeze individual slices or the entire cheesecake for up to two months. Wrapping slices individually makes it easy to enjoy a single serving whenever a craving strikes.
Avoid leaving cheesecake at room temperature for more than two hours, especially during warm weather, as the dairy filling is highly perishable.
Frequently Asked Questions
Why did my cheesecake crack?
Cracks are usually caused by overmixing the batter, overbaking, skipping the water bath, or cooling the cheesecake too quickly. Following the preparation techniques in this guide greatly reduces the chances of cracking.
Can I make New York cheesecake without a water bath?
Yes, but a water bath produces the smoothest texture and helps prevent cracks. If you choose not to use one, place a pan of hot water on the lower oven rack to create additional moisture.
How do I know when the cheesecake is fully baked?
The edges should appear set while the center still jiggles slightly when gently shaken. The cheesecake will continue setting as it cools.
Can I freeze cheesecake?
Absolutely. Wrap the cheesecake securely and freeze it for up to two months. Thaw it overnight in the refrigerator before serving.
Can I use low-fat cream cheese?
You can, but the texture will be lighter and less creamy than a traditional New York Classic Cheesecake. Full-fat cream cheese is strongly recommended for authentic results.
Why should ingredients be at room temperature?
Room-temperature ingredients blend together smoothly, creating a lump-free batter while reducing the need for excessive mixing.
How long should cheesecake chill before serving?
A minimum of six hours is required, but overnight chilling provides the best texture, flavor, and clean slices.
Conclusion
New York Classic Cheesecake is a dessert that never goes out of style. Its rich, creamy filling, buttery graham cracker crust, and elegant simplicity make it a favorite for both everyday indulgence and special occasions. While it requires a bit of patience, every step contributes to a dessert that’s well worth the effort.
Whether you enjoy it plain or topped with fresh berries, chocolate, or caramel, this timeless recipe is one you’ll return to again and again. Once you’ve mastered the classic version, you’ll have the confidence to experiment with new flavors while still preserving the luxurious texture that defines an authentic New York Classic Cheesecake. With careful preparation and the tips shared in this guide, you’ll be able to serve a homemade cheesecake that rivals those found in the finest bakeries.
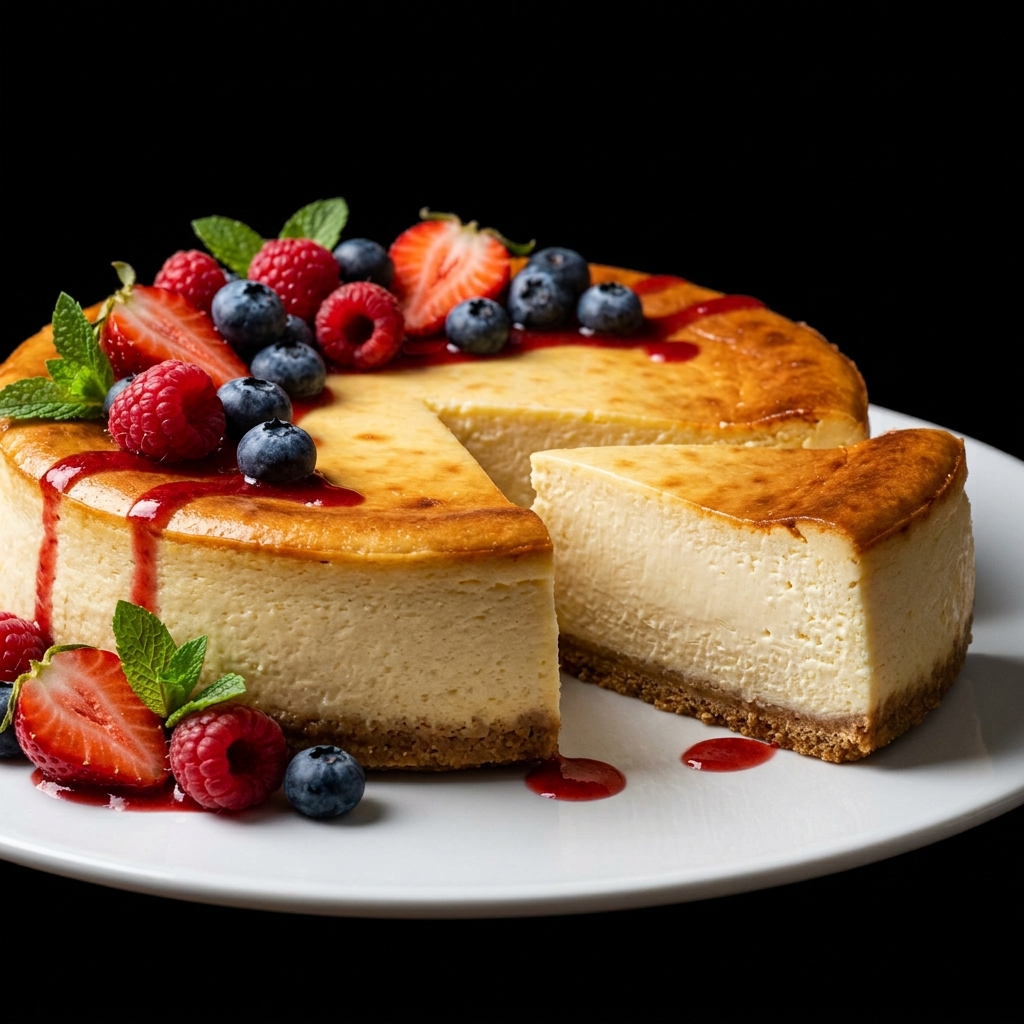
New York Classic Cheesecake
Ingredients
Equipment
Method
- Preheat the oven to 325°F (163°C). Grease a 9-inch springform pan and wrap the outside with heavy-duty aluminum foil if using a water bath.
- Combine the graham cracker crumbs, sugar, salt, and melted butter until evenly moistened.
- Firmly press the mixture into the bottom of the prepared pan and slightly up the sides.
- Bake the crust for 10 minutes, then remove and allow it to cool.
- Beat the softened cream cheese until completely smooth.
- Gradually mix in the sugar until fully incorporated.
- Add the sour cream, vanilla extract, lemon juice, lemon zest (if using), flour or cornstarch, and salt. Mix until smooth.
- Add the eggs one at a time, mixing on low speed just until combined after each addition.
- Pour the batter over the cooled crust and smooth the surface.
- Tap the pan gently on the countertop to remove any large air bubbles.
- Place the springform pan into a larger roasting pan and pour hot water halfway up the sides to create a water bath.
- Bake for 65–80 minutes, or until the edges are set and the center still has a slight jiggle.
- Turn off the oven, crack the oven door open, and let the cheesecake cool inside for 1 hour.
- Remove from the oven and cool completely at room temperature.
- Refrigerate for at least 8 hours or overnight before removing from the pan and slicing.
- Serve plain or with your favorite toppings.
Notes
Bring all refrigerated ingredients to room temperature before mixing to achieve a smooth, lump-free batter.
Avoid overmixing once the eggs are added, as too much air can cause cracks during baking.
A water bath helps the cheesecake bake evenly and reduces the risk of cracking.
Chill the cheesecake overnight whenever possible for the best flavor and texture.
For perfectly clean slices, dip a sharp knife in hot water and wipe it clean between each cut.
Store leftovers covered in the refrigerator for up to 5 days or freeze for up to 2 months.