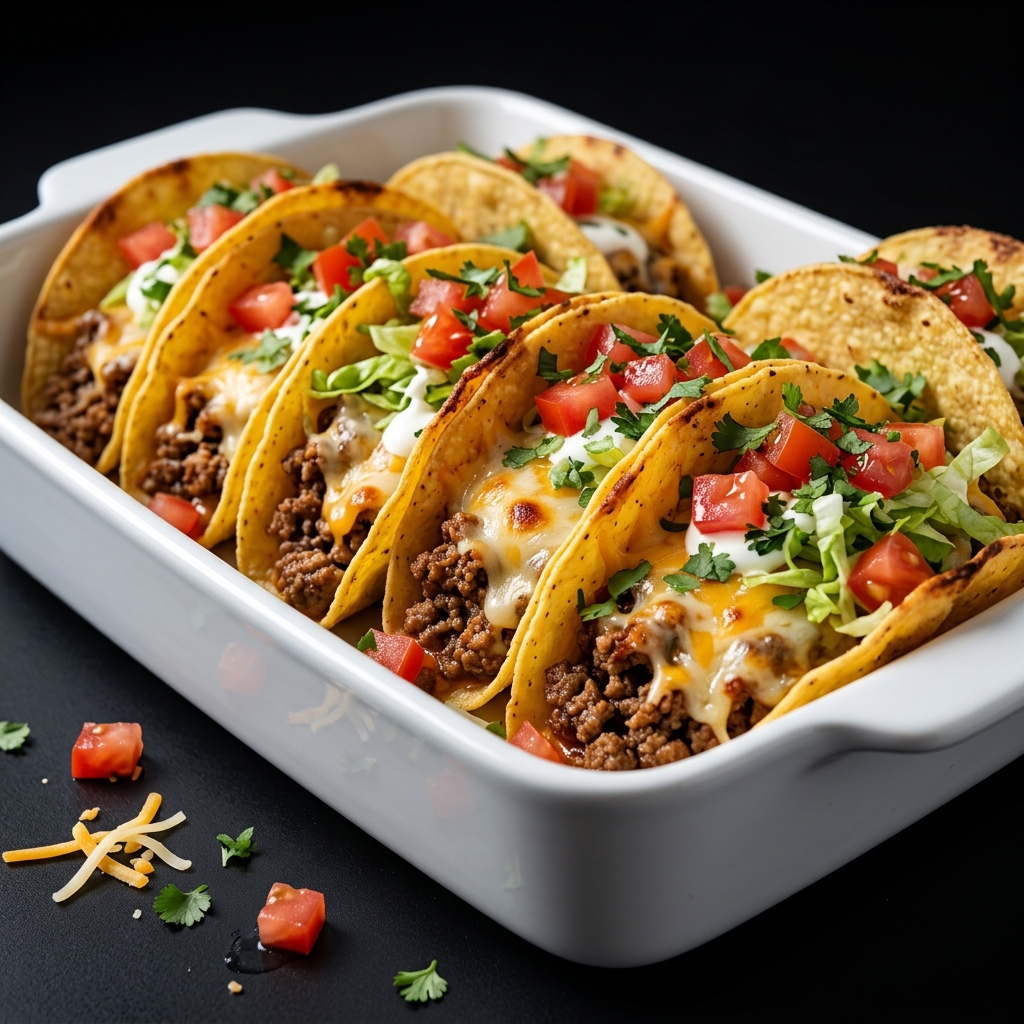
Craving crispy taco shells packed with juicy, seasoned beef and irresistible melted cheese? These 30 Minutes Oven Baked Tacos are the perfect solution for busy evenings when you want something quick, comforting, and bursting with flavor. With simple ingredients, easy preparation, and a delicious oven-baked finish, this family-friendly recipe transforms an ordinary taco night into a meal everyone will look forward to.
Ingredients for 30 Minutes Oven Baked Tacos
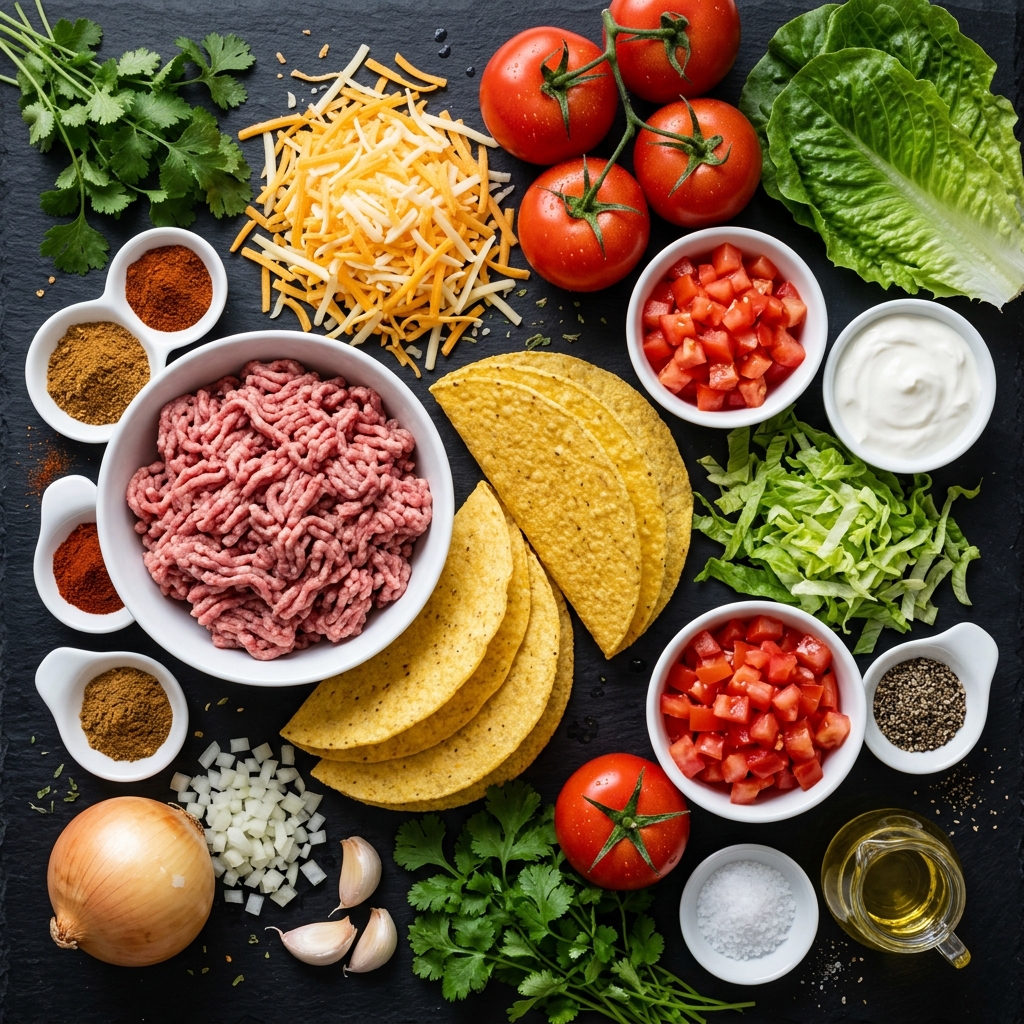
The secret to delicious oven-baked tacos is using fresh ingredients, well-seasoned ground beef, and cheese that melts beautifully over the filling. The quantities below make approximately 10 tacos, depending on the size of your taco shells and how generously you fill them.
Main Ingredients
- 10 hard taco shells: Choose sturdy, crispy taco shells that can stand upright in a baking dish. They provide the perfect crunchy base for the savory filling.
- 1 pound (450 g) ground beef: Ground beef with a little fat produces a juicy, flavorful filling. Lean ground beef also works well if you prefer less grease.
- 1 tablespoon olive oil: Use this if your ground beef is very lean or your skillet needs a little extra oil.
- 1 small onion, finely diced: Onion adds natural sweetness and depth to the beef mixture.
- 2 cloves garlic, minced: Fresh garlic gives the filling a wonderful aroma and savory flavor.
- 2 tablespoons taco seasoning: Use your favorite store-bought blend or a homemade mixture of chili powder, ground cumin, paprika, garlic powder, onion powder, oregano, salt, and black pepper.
- 1/2 cup (120 ml) tomato sauce: This helps bind the filling together and adds moisture without making the tacos excessively wet.
- 1/4 cup (60 ml) water or beef broth: A small amount of liquid helps the seasonings coat the meat evenly.
- 1 1/2 cups (150–170 g) shredded cheddar cheese: Cheddar provides a rich flavor and an attractive golden finish.
- 1 cup (100–110 g) shredded Monterey Jack cheese: This cheese melts smoothly and complements the cheddar. You can use additional cheddar if Monterey Jack is unavailable.
- Salt and black pepper, to taste: Adjust the seasoning after cooking the beef, keeping in mind that packaged taco seasoning may already contain salt.
Fresh Toppings
These toppings are optional for baking, but they add freshness, color, and extra flavor when the tacos come out of the oven.
- 1 cup shredded lettuce: Adds a cool, crisp contrast to the warm filling.
- 1 medium tomato, diced: Provides juicy freshness and a bright red color.
- 1/4 cup sour cream: Creates a creamy, tangy finish.
- 2 tablespoons chopped fresh cilantro: Adds a fresh, herbaceous flavor.
- 1 small jalapeño, thinly sliced: Optional, for those who enjoy extra heat.
- 1/2 cup salsa: Serve on the side or spoon a small amount over the finished tacos.
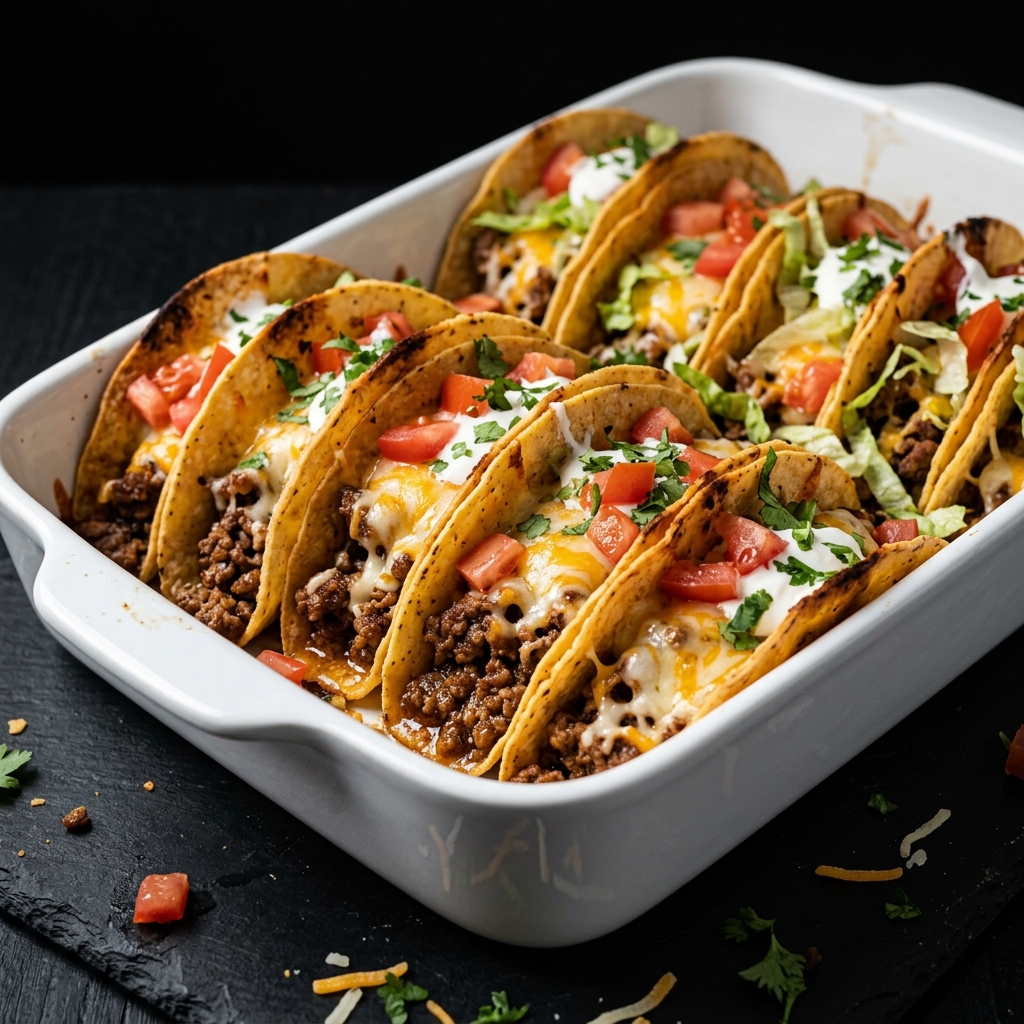
How to Make 30 Minutes Oven Baked Tacos
Follow these simple steps to create tacos with crispy shells, savory beef, and perfectly melted cheese. The key is to prepare the filling before assembling the tacos so that the shells spend just enough time in the oven to become hot and the cheese can melt without the shells becoming overly dark.
Step 1: Preheat the Oven
Preheat your oven to 400°F (200°C). Allow it to reach the correct temperature before placing the tacos inside.
Lightly grease a large baking dish with cooking spray or a small amount of oil. Arrange the taco shells upright in the dish, placing them close enough together to support one another without crushing them.
If your shells do not stand securely, use a baking dish with sides that help keep them upright. A snug arrangement makes filling the tacos easier and reduces the chance of the shells tipping over.
Step 2: Prepare the Onion and Garlic
Place a large skillet over medium heat. Add the olive oil if needed, followed by the finely diced onion.
Cook the onion for approximately 2–3 minutes, stirring occasionally, until it begins to soften and turn translucent. Add the minced garlic and cook for another 30 seconds, stirring constantly to prevent it from burning.
This short step builds the flavor base for your taco filling. Softened onion contributes sweetness, while gently cooked garlic adds a savory aroma that complements the beef and spices.
Step 3: Brown the Ground Beef
Add the ground beef to the skillet. Use a wooden spoon or spatula to break it into small pieces as it cooks.
Cook for approximately 5–7 minutes, stirring occasionally, until the beef is thoroughly browned and no longer pink. Avoid overcrowding the skillet, because excess moisture can cause the meat to steam instead of brown. If necessary, cook in batches.
For food safety, cook ground beef to an internal temperature of 160°F (71°C), measured with a food thermometer.
If the meat releases a large amount of grease, carefully drain the excess before adding the seasonings. Leave a little of the natural fat behind if desired, as it helps carry the flavors of the spices.
Step 4: Season the Beef Filling
Sprinkle the taco seasoning over the browned beef and stir thoroughly to distribute it.
Add the tomato sauce and water or beef broth. Stir until the liquid coats the meat and the seasoning is evenly incorporated.
Let the mixture simmer for approximately 2–3 minutes, stirring occasionally. The filling should become moist and flavorful, with enough sauce to hold the meat together without leaving a pool of liquid in the skillet.
Taste the filling and adjust the salt and black pepper if needed. If you prefer a spicier flavor, add a little extra chili powder or a pinch of cayenne pepper.
Remove the skillet from the heat once the filling is ready.
Step 5: Fill the Taco Shells
Arrange the taco shells in your prepared baking dish if you have not already done so.
Using a spoon, divide the beef mixture evenly among the shells. Aim for approximately 2–3 tablespoons of filling per taco, adjusting the quantity to suit the size of your shells.
Spread the beef toward the bottom of each shell instead of piling everything at the top. This helps the tacos remain balanced and makes them easier to serve.
Avoid overfilling the shells. Although generously filled tacos look appealing, leaving a little room at the top makes it easier to add cheese and prevents the filling from spilling out during baking.
Step 6: Add the Cheese
Sprinkle the shredded cheddar and Monterey Jack cheese generously over the beef in each taco.
Try to distribute the cheese evenly so that every taco develops a delicious melted layer. A combination of cheddar and Monterey Jack offers a good balance of sharp flavor, creaminess, and meltability.
For the best results, shred the cheese from a block when possible. Freshly shredded cheese often melts more smoothly than pre-shredded varieties, which may contain anti-caking ingredients.
Step 7: Bake the Tacos
Place the baking dish in the preheated oven and bake for approximately 8–10 minutes, or until the cheese has melted completely and the taco shells are hot and crisp.
Keep an eye on the shells during the final few minutes. Oven temperatures and taco shell brands vary, so the exact baking time may differ slightly.
You want the cheese to look glossy and melted, with perhaps a few lightly golden spots. The shells should remain sturdy enough to hold the filling without becoming overly dark or bitter.
If you like a more deeply browned cheese topping, you can briefly use the broiler at the end. Watch carefully, because cheese and taco shells can burn quickly under direct heat.
Step 8: Add the Fresh Toppings
Remove the baking dish from the oven and allow the tacos to rest for about 1–2 minutes before serving.
Top each taco with shredded lettuce, diced tomatoes, chopped cilantro, and a small spoonful of sour cream, if desired. Add sliced jalapeños for a spicy kick or serve salsa alongside the tacos for extra moisture and flavor.
For the freshest texture, add the lettuce and other delicate toppings after baking rather than before. The residual heat from the tacos can quickly wilt the lettuce and soften the tomatoes.
Step 9: Serve and Enjoy
Transfer the tacos to a serving platter or serve them directly from the baking dish. Add lime wedges, extra salsa, sour cream, and any remaining toppings to the table so everyone can customize their meal.
Serve immediately while the shells are crispy, the filling is warm, and the cheese is still beautifully melted.
These 30 Minutes Oven Baked Tacos are delicious on their own, but they become an even more satisfying dinner when paired with rice, beans, a fresh salad, or your favorite Mexican-inspired side dish.
Delicious Variations of Oven Baked Tacos
One of the best things about oven-baked tacos is how easy they are to customize. You can change the protein, adjust the spice level, add vegetables, or experiment with different cheeses while keeping the basic preparation method the same.
1. Cheesy Beef and Bean Tacos
For an extra hearty filling, add 1/2 cup of drained and rinsed black beans or pinto beans to the cooked beef mixture.
The beans add texture, fiber, and extra substance, making the filling go further. Stir them into the beef before filling the shells, then continue with the cheese and baking steps.
This is a useful option when you want to stretch a pound of ground beef to feed more people.
2. Spicy Oven Baked Tacos
If you enjoy bold heat, give your taco filling a spicy twist.
Add diced jalapeño to the onion as it cooks, or mix a pinch of cayenne pepper into the taco seasoning. You can also use pepper Jack cheese instead of Monterey Jack for an extra kick.
For a milder family-friendly version, keep the filling moderately seasoned and serve hot sauce on the side so everyone can adjust the heat to their preference.
3. Chicken Oven Baked Tacos
Ground chicken or finely shredded cooked chicken makes an excellent alternative to beef.
If using ground chicken, cook it thoroughly in the skillet before adding the seasonings and tomato sauce. If using cooked shredded chicken, stir it into the sautéed onion, garlic, taco seasoning, and sauce until hot and evenly coated.
Chicken is generally leaner than many ground beef options, and its mild flavor works well with cheddar, Monterey Jack, salsa, and fresh cilantro.
4. Turkey Oven Baked Tacos
Ground turkey is another tasty alternative. Because turkey can be leaner than beef, add a small amount of olive oil if needed to prevent the meat from drying out.
Season it generously with cumin, chili powder, garlic, paprika, and onion. Cook until it reaches a safe internal temperature of 165°F (74°C).
The finished tacos will still be flavorful, cheesy, and satisfying, with a slightly different taste from the original beef version.
5. Vegetarian Oven Baked Tacos
To make a vegetarian variation, replace the ground beef with seasoned black beans, pinto beans, lentils, or plant-based mince.
For a simple bean filling, sauté the onion and garlic, then add the beans, tomato sauce, taco seasoning, and a little water. Lightly mash some of the beans to help the mixture hold together.
Top with vegetarian-friendly cheese and bake as directed. If you want a fully vegan version, use dairy-free cheese and plant-based sour cream, and check that all other ingredients are suitable for vegans.
6. Loaded Vegetable Tacos
Add finely diced bell peppers, mushrooms, zucchini, or corn to the beef filling for extra color and flavor.
Cook vegetables with the onion before adding the beef, or sauté them separately if you prefer more control over their texture.
Be mindful of moisture. Vegetables release water as they cook, and too much liquid can soften the taco shells. Cook off excess moisture before assembling the tacos.
7. Gluten-Free Oven Baked Tacos
For a gluten-free version, choose taco shells that are clearly labeled gluten-free and verify the seasoning, sauces, and other packaged ingredients.
Corn-based taco shells are often gluten-free, but ingredients and manufacturing practices vary, so checking the label is important.
Prepare the recipe as directed using verified gluten-free ingredients. If cooking for someone with celiac disease, take care to avoid cross-contact with gluten-containing foods, utensils, and surfaces.
8. Low-Carb Taco Bowls
If you are watching your carbohydrate intake, skip the regular taco shells and serve the seasoned beef, melted cheese, lettuce, tomatoes, and sour cream in bowls.
You can also use a suitable low-carb tortilla or make cheese shells, depending on your dietary preferences.
Keep in mind that low-carb and keto are not identical, and the suitability of the meal depends on ingredient quantities and the total carbohydrates per serving. Check labels and calculate nutrition based on the ingredients you actually use.
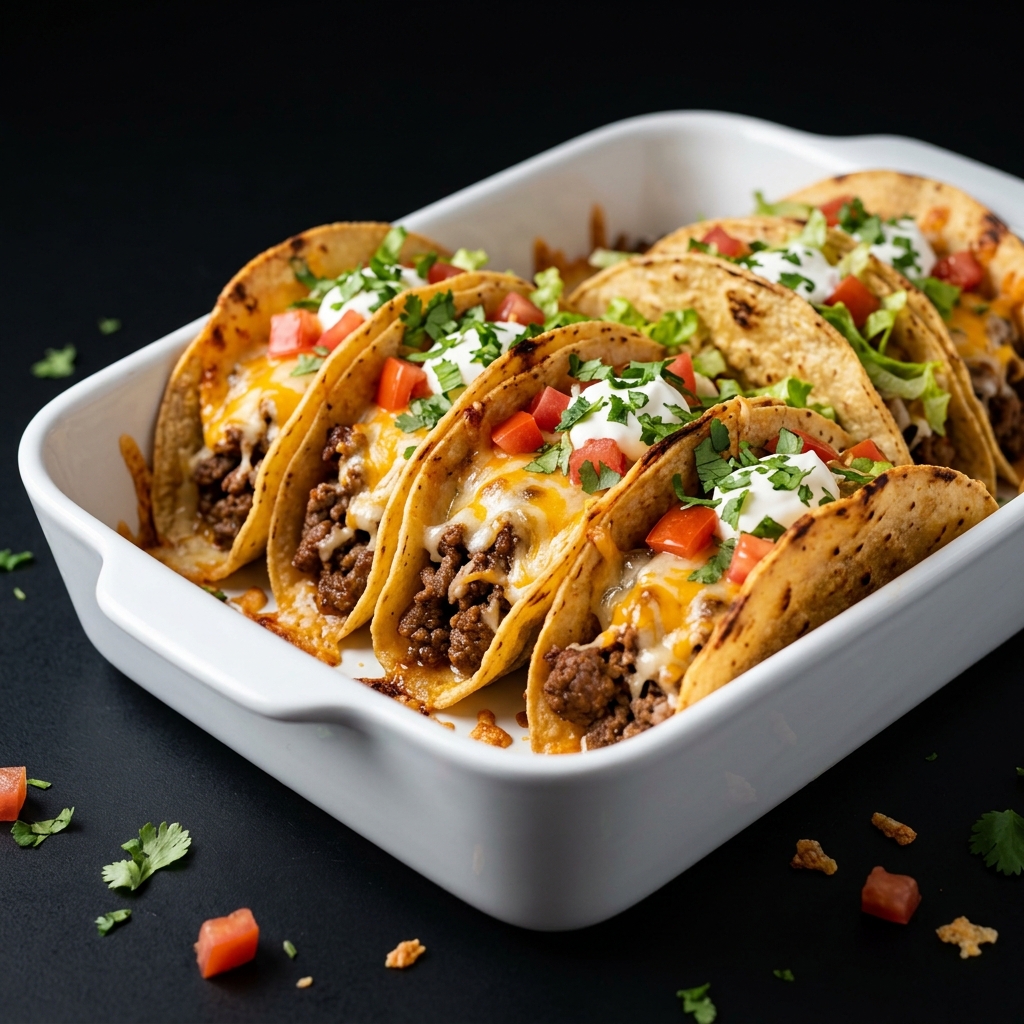
Expert Tips for the Best Oven Baked Tacos
A few simple techniques can make a noticeable difference in the texture, flavor, and appearance of your tacos.
Use the Right Baking Dish
A baking dish that holds the taco shells snugly helps keep them upright while you fill and bake them. If the shells lean too far apart, the filling may spill out, making the tacos harder to handle.
Choose a sturdy dish with enough room for the shells to sit in a single layer.
Avoid a Watery Filling
One of the most common reasons baked tacos become soggy is excess moisture in the beef mixture.
Drain excessive grease when necessary, measure the tomato sauce and liquid carefully, and allow the filling to simmer until it thickens. The mixture should be moist enough to taste delicious but not so wet that liquid collects at the bottom of the shells.
Prepare Toppings in Advance
Wash and dry the lettuce, dice the tomatoes, chop the cilantro, and portion the sour cream while the beef cooks.
Keeping these ingredients ready makes assembly faster and helps you finish dinner within approximately 30 minutes.
For the best texture, refrigerate prepared toppings until needed and add them just before serving.
Choose Cheese That Melts Well
Cheddar delivers a rich, familiar taco flavor, while Monterey Jack offers a creamy melt. Combining the two gives you both flavor and texture.
Shred the cheese yourself when practical, and distribute it evenly so every taco receives a satisfying cheesy topping.
Do Not Overbake the Shells
Hard taco shells are already crisp, so they do not need a long time in the oven. The goal is to heat the filling and melt the cheese without scorching the shells.
Start checking at around 8 minutes and remove the tacos as soon as the cheese is melted and the shells are hot.
Make Assembly Easier
Arrange the taco shells in the baking dish before preparing the filling. Once the beef is ready, you can fill the shells quickly without having to rearrange everything.
Use a spoon to distribute the filling evenly, and add the cheese immediately afterward so the tacos are ready to go into the oven.
Serve Immediately for the Best Texture
Oven-baked tacos taste best fresh from the oven. As they sit, moisture from the filling and toppings can gradually soften the shells.
If you are preparing a larger meal, keep the beef filling warm separately and assemble the tacos in batches. This helps you serve crisp, hot tacos instead of leaving a whole dish sitting for too long.
What to Serve with 30 Minutes Oven Baked Tacos
These tacos are satisfying by themselves, but the right sides can turn them into a complete and colorful dinner.
Mexican Rice
Fluffy Mexican-style rice seasoned with tomato, garlic, onion, and mild spices pairs beautifully with the savory beef filling. It is an excellent choice for family dinners and helps make the meal more substantial.
Black Beans or Refried Beans
Black beans or refried beans complement the taco seasoning and add a creamy, hearty element to the plate. Serve them alongside the tacos or offer them as an additional filling option.
Fresh Corn Salad
A fresh corn salad with corn, diced tomatoes, cilantro, lime juice, and a little red onion provides a bright, sweet contrast to the warm, cheesy tacos.
Guacamole
Creamy guacamole made with ripe avocado, lime juice, cilantro, onion, and a pinch of salt adds richness and freshness. It also works wonderfully as a dip for any pieces of taco shell that break off.
Salsa and Sour Cream
Classic tomato salsa adds acidity and a fresh, tangy flavor, while sour cream helps balance spicy seasonings. Serve both in small bowls so everyone can add as much as they like.
Simple Green Salad
A crisp green salad with lettuce, cucumber, tomatoes, and a light lime dressing offers a refreshing contrast to the warm beef and cheese. It is especially useful when you want a balanced dinner without spending much additional time cooking.
Roasted Vegetables
Roasted bell peppers, zucchini, onions, or corn are delicious alongside the tacos. Season them with olive oil, salt, pepper, and a little cumin for a complementary flavor.
Frequently Asked Questions
1. Can I really make oven-baked tacos in 30 minutes?
Yes. With efficient preparation, these tacos can be ready in approximately 30 minutes. Browning the beef and preparing the toppings while the oven preheats helps save time. Actual timing depends on your equipment, the quantity of tacos, and how quickly you prepare the ingredients.
2. How do I keep oven-baked tacos from getting soggy?
The most important step is to keep the beef filling from becoming too wet. Drain excess grease, simmer the filling until thickened, and avoid adding watery toppings before baking. Add lettuce, fresh tomatoes, sour cream, and other delicate toppings after the tacos come out of the oven.
3. Can I prepare the beef filling ahead of time?
Yes. Cook the beef filling in advance, allow it to cool promptly, and refrigerate it in an airtight container within two hours of cooking, or within one hour if the temperature is above 90°F (32°C). Use it within 3–4 days, and reheat it to 165°F (74°C) before assembling the tacos. Add a small splash of water if the filling becomes too thick during reheating.
4. Can I use soft tortillas instead of hard taco shells?
Yes, although the result will be different. Soft tortillas produce a softer, more pliable taco rather than the crunchy texture associated with classic oven-baked hard-shell tacos. You can fold the tortillas around the filling, arrange them in a baking dish, add cheese, and bake until heated through.
5. What is the best cheese for oven-baked tacos?
Cheddar and Monterey Jack are excellent choices because they provide good flavor and melt well. A Mexican-style shredded cheese blend is another convenient option. For a sharper taste, use extra cheddar; for a creamier finish, increase the Monterey Jack.
6. Can I make this recipe without tomato sauce?
Yes. You can replace the tomato sauce with a small amount of beef broth and adjust the seasoning to taste. Alternatively, use a little salsa, provided you simmer it until the filling reaches the right consistency. Avoid adding too much liquid, as a watery filling can make the taco shells soggy.
7. Can I make oven-baked tacos spicy?
Absolutely. Add cayenne pepper, extra chili powder, diced jalapeños, or hot salsa to the filling. Pepper Jack cheese also adds heat. If you are serving children or guests with different spice preferences, prepare a mild batch and offer spicy toppings separately.
8. Can I freeze oven-baked tacos?
It is generally better to freeze the cooked beef filling separately rather than freezing fully assembled tacos. Taco shells can lose their crisp texture during freezing and reheating, while fresh toppings such as lettuce and sour cream do not freeze well.
Cool the filling promptly, place it in a freezer-safe airtight container, and freeze it for approximately 2–3 months for best quality. Thaw it in the refrigerator and reheat thoroughly before assembling fresh tacos.
9. How should I store leftover baked tacos?
For the best results, store the cooked beef filling separately from the shells and fresh toppings whenever possible. Refrigerate perishable leftovers within two hours of cooking, using shallow, airtight containers.
Cooked meat leftovers can generally be refrigerated for 3–4 days. If the tacos have already been assembled, refrigerate them promptly, but expect the shells to soften. Reheat the filling to 165°F (74°C) and use fresh shells when you want the best crunch.
10. Are oven-baked tacos gluten-free?
Not automatically. Some taco shells, seasoning mixes, sauces, and other packaged ingredients may contain gluten or be subject to cross-contact. To make the recipe gluten-free, use appropriately labeled gluten-free shells and check every packaged ingredient.
11. Are these tacos keto-friendly or low-carb?
The standard version is not typically keto-friendly or low-carb because regular hard taco shells contain carbohydrates. To make a lower-carbohydrate variation, use suitable low-carb shells or serve the beef, cheese, and toppings in a bowl without the shells. Calculate the nutrition using your actual ingredients and portion sizes.
12. How can I make vegetarian oven-baked tacos?
Replace the ground beef with black beans, pinto beans, lentils, or plant-based mince. Combine the substitute with onion, garlic, taco seasoning, and tomato sauce, then fill the shells, top with suitable cheese, and bake as directed. For a vegan version, replace dairy cheese and sour cream with plant-based alternatives.
Conclusion
These 30 Minutes Oven Baked Tacos prove that a delicious homemade dinner does not have to be complicated. With crispy shells, juicy seasoned beef, melted cheese, and fresh toppings, every bite brings together satisfying textures and bold flavors that make taco night feel special.
Whether you prepare them for a busy weeknight, a casual family dinner, or a relaxed weekend meal, this recipe is easy to customize with your favorite toppings, cheeses, and fillings. Keep the ingredients simple, avoid excess moisture, and serve the tacos fresh from the oven for the best results.
Once you try this easy oven-baked taco recipe, it may quickly become one of your favorite ways to bring everyone to the table. Save it for your next taco night, gather your ingredients, and get ready to enjoy a warm, cheesy, flavor-packed meal in about 30 minutes.
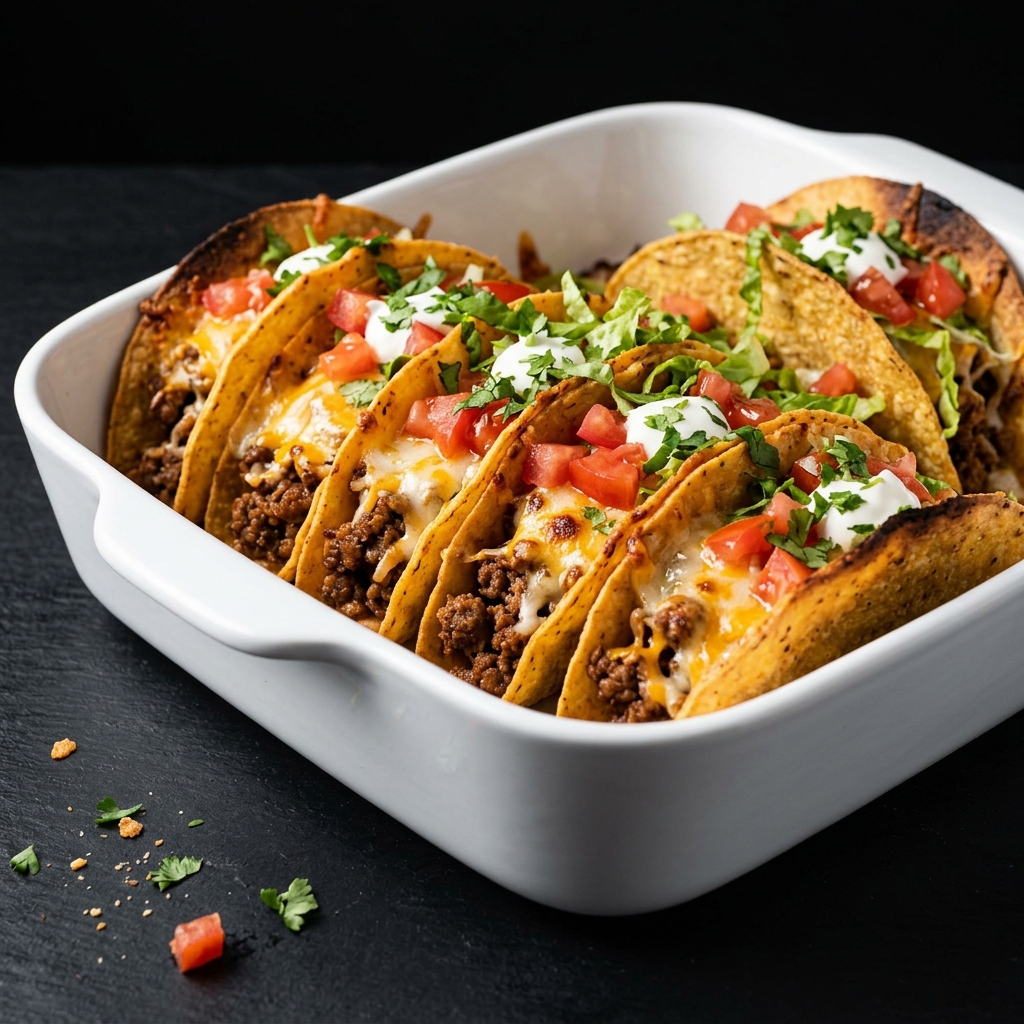
30 Minutes Oven Baked Tacos
Ingredients
Equipment
Method
- Preheat the Oven: Preheat the oven to 400°F (200°C). Lightly grease a baking dish and arrange the taco shells upright in a single layer.
- Cook the Onion and Garlic: Heat the olive oil in a large skillet over medium heat, if needed. Add the diced onion and cook for 2–3 minutes until softened. Stir in the minced garlic and cook for another 30 seconds.
- Brown the Beef: Add the ground beef and break it apart with a wooden spoon. Cook for 5–7 minutes, stirring occasionally, until browned and thoroughly cooked. The internal temperature should reach 160°F (71°C). Drain excess grease if necessary.
- Season the Filling: Add the taco seasoning, tomato sauce, and water or beef broth. Stir well and simmer for 2–3 minutes until the mixture thickens slightly. Taste and adjust the salt and pepper as needed.
- Fill the Taco Shells: Spoon the beef mixture evenly into the prepared taco shells, filling each about two-thirds to three-quarters full. Avoid overfilling.
- Add the Cheese: Sprinkle the shredded cheddar and Monterey Jack cheese evenly over the beef in each shell.
- Bake: Place the baking dish in the oven and bake for 8–10 minutes, or until the cheese is melted and the shells are hot and crisp. Watch carefully to prevent the shells from becoming too dark.
- Add the Toppings: Remove the tacos from the oven and let them rest for 1–2 minutes. Top with shredded lettuce, diced tomatoes, fresh cilantro, sour cream, and jalapeños, if desired.
- Serve: Serve immediately with salsa, lime wedges, Mexican rice, or black beans for a satisfying meal.
Notes
Use freshly shredded cheese: Cheese shredded from a block often melts more smoothly than pre-shredded cheese.
Customize the filling: Substitute ground turkey, ground chicken, black beans, or plant-based mince for the beef.
Adjust the heat: Add cayenne pepper or jalapeños for a spicier version, or use mild taco seasoning for a gentler flavor.
Prepare ahead: Cook the beef filling in advance and refrigerate it in an airtight container for 3–4 days. Reheat to 165°F (74°C) before assembling.
Store leftovers safely: Refrigerate cooked leftovers within two hours. For the best texture, store the filling separately from the taco shells and fresh toppings.
Dietary considerations: The standard recipe is not automatically gluten-free, keto, low-carb, vegan, or vegetarian. Check ingredient labels or use suitable substitutions for dietary requirements.
Serving suggestion: Serve hot with salsa, sour cream, guacamole, Mexican rice, black beans, or a fresh green salad.
Best enjoyed fresh: Assemble and bake the tacos shortly before serving to preserve their crispy texture.

Emma Carter is a passionate home cook and recipe creator who loves making delicious, simple meals everyone can enjoy. She shares easy recipes, helpful cooking tips, and inspiring food ideas to make everyday cooking more enjoyable.